Injection Site Care: Keeping Your Skin Happy and Healthy
10 July 2025 ·
✔️ Medically Reviewed: 10 July 2025 by Emma Southworth

Injection Site Care: Keeping Your Skin Happy and Healthy
Getting your injection technique right
Proper injection technique isn't just about comfort - it's about making sure your medication works effectively and keeping your skin healthy. Here's everything you need to know.
Where to inject
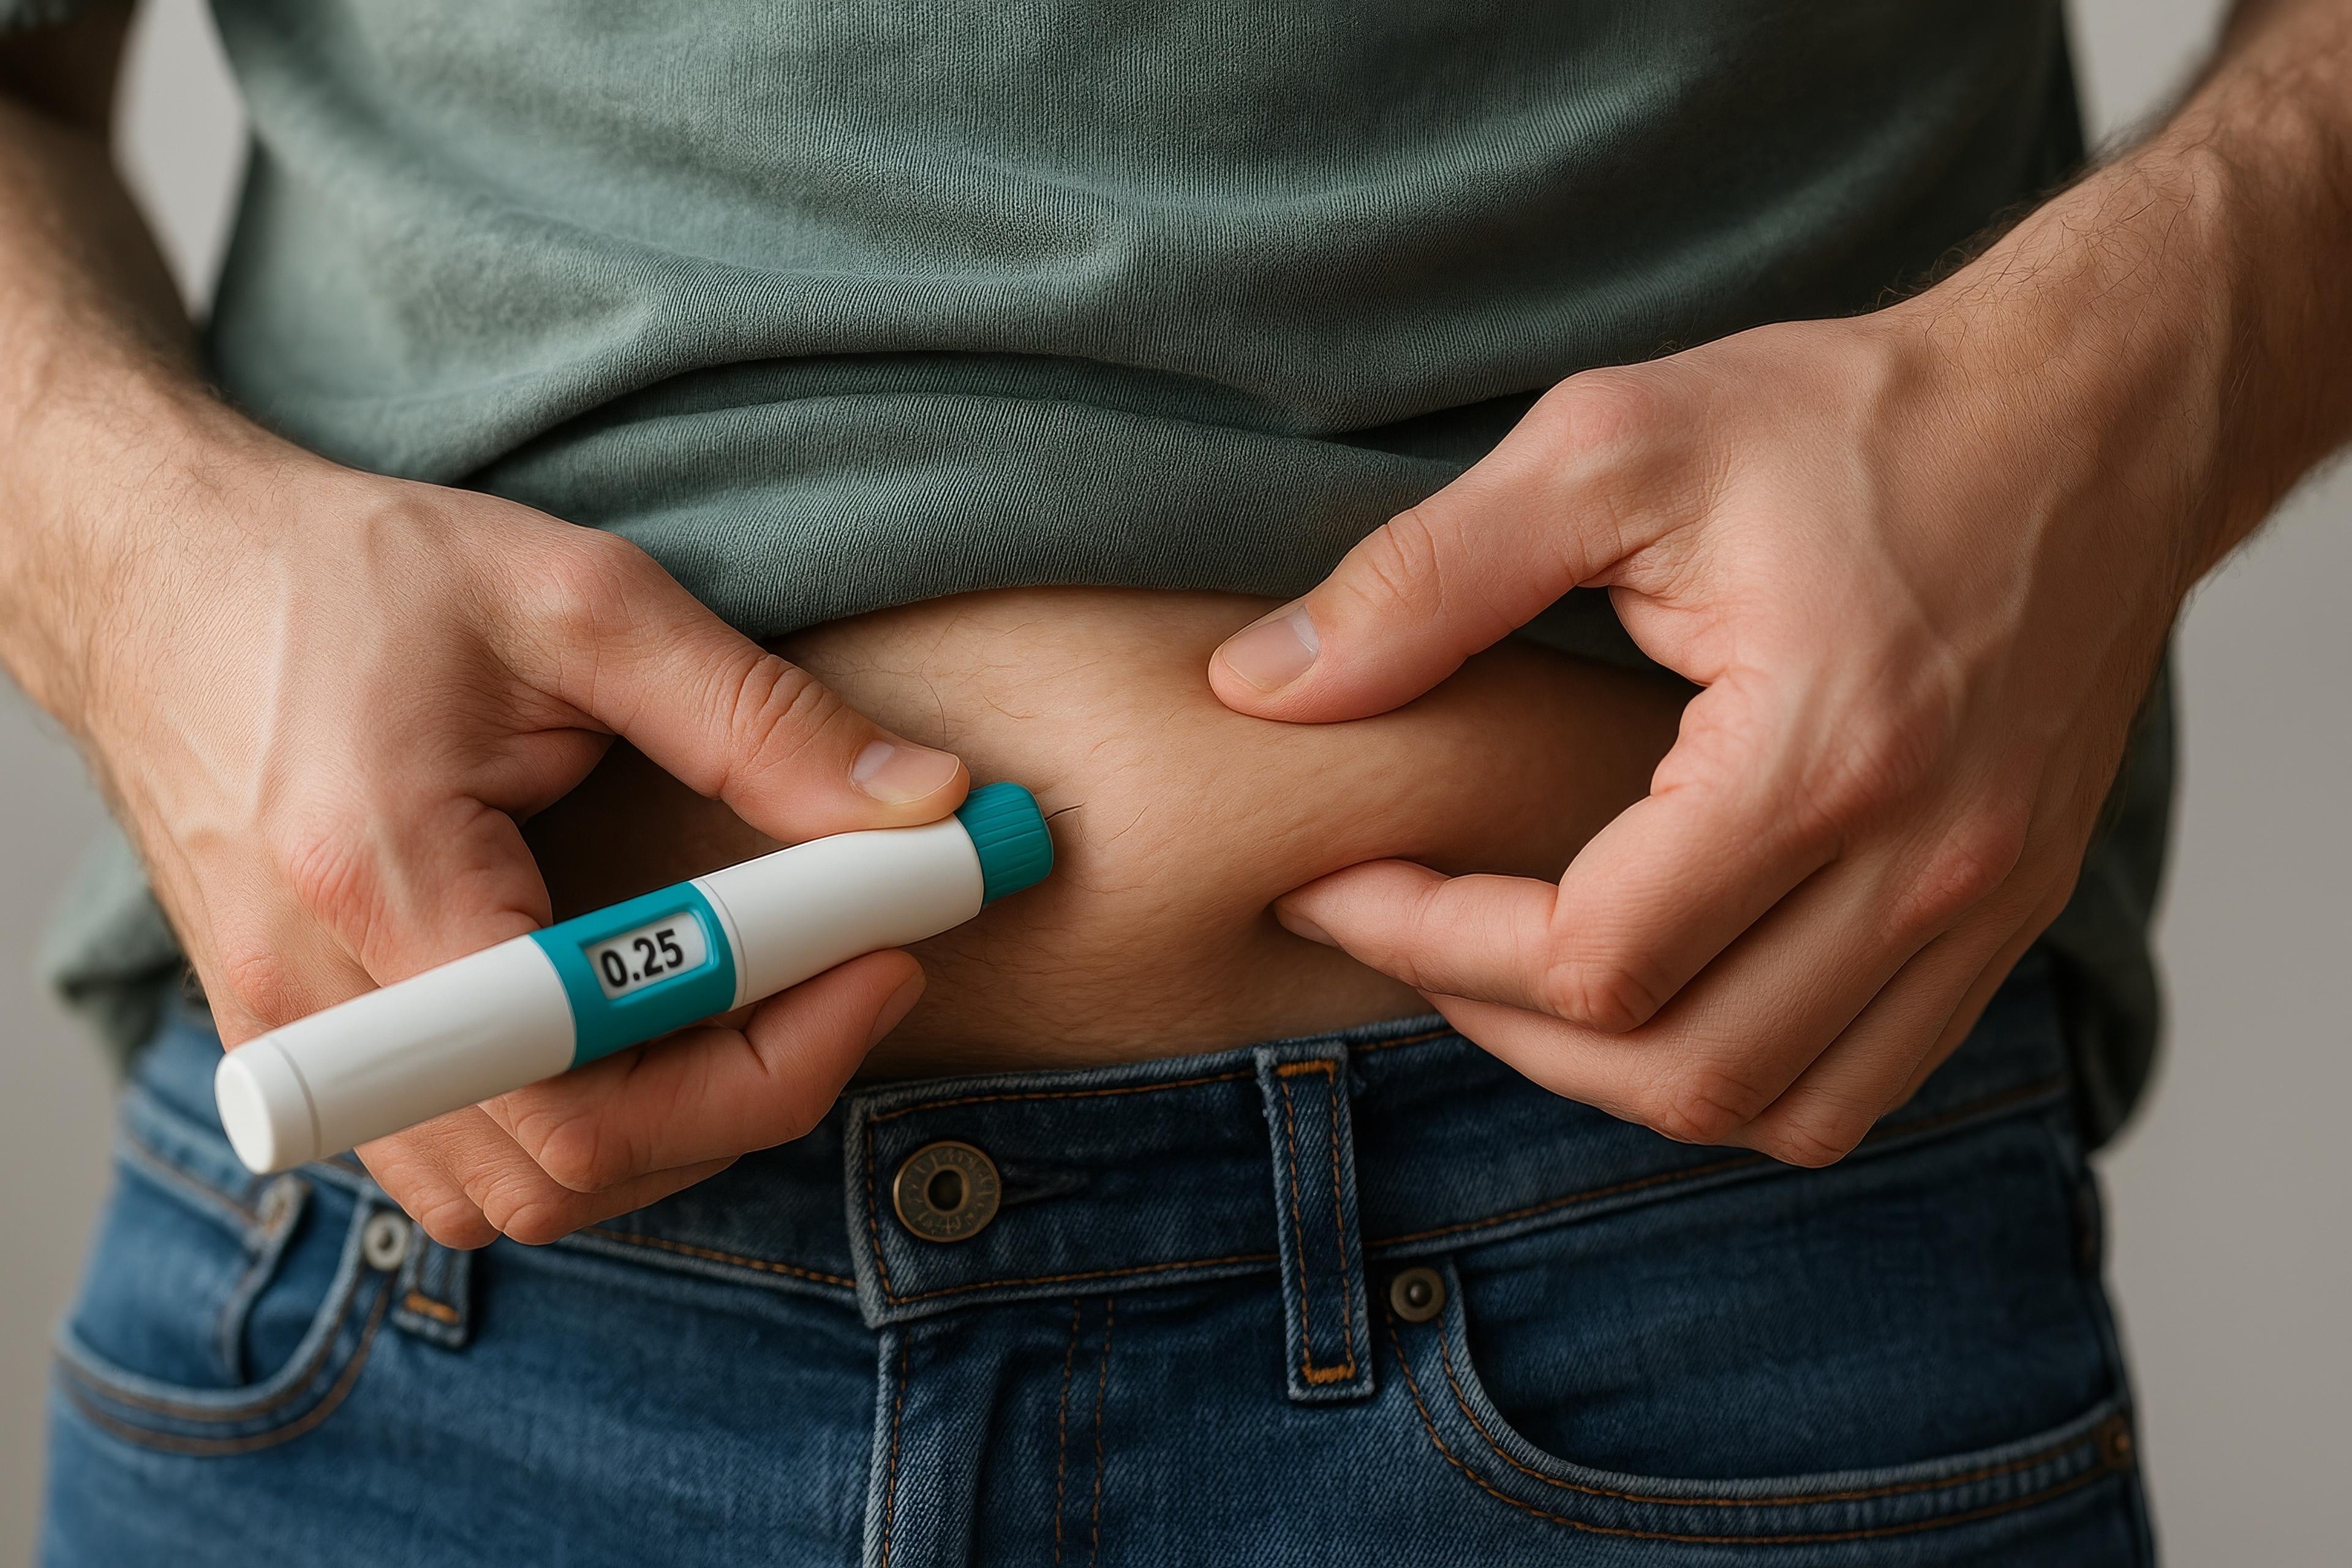
You have three main options: your upper arm, upper thigh, or abdomen. Avoid the two-inch area around your belly button - the skin there doesn't absorb medication as well.
The key rule is rotation. Try to use a completely different area each week rather than the same spot. Think of it like having a weekly rotation schedule for your injection sites.
Why rotation matters
Using the same spot repeatedly can cause lumps, bumps, or areas of hardened skin that don't absorb medication properly. This can make your medication less effective and cause uncomfortable skin changes.
Some people develop lipodystrophy - areas where fat tissue changes, creating lumps or dented areas. This is more common with daily injections (like insulin) but can happen with weekly injections too if you don't rotate properly.
Making injections more comfortable
Take your medication out of the fridge 15-30 minutes before injecting. Cold medication can be more uncomfortable when administered.
Clean your injection site with an alcohol wipe and let it dry completely before injecting. This prevents stinging and reduces infection risk.
Inject slowly and steadily. Don't rush - a quick jab often hurts more than a slow, controlled injection.
Managing injection site reactions
Some redness, swelling, or mild discomfort at the injection site is normal, especially when you first start. These reactions usually improve within a few days.
If you're getting significant reactions, try these strategies:
- Use a cool pack before and after injection
- Make sure you're rotating sites properly
- Check that you're not injecting too close to previous sites
- Ensure your injection technique is correct
When to be seek advice
Contact your prescriber or seek medical advice if you notice:
- Severe redness or swelling that doesn't improve after a few days
- Signs of infection (increasing pain, warmth, pus, red streaking)
- Persistent lumps or bumps at injection sites
- Allergic reactions (widespread rash, difficulty breathing)
Creating a rotation system
Many people find it helpful to have a system. For example:
- Week 1: Right thigh
- Week 2: Left thigh
- Week 3: Right side of abdomen
- Week 4: Left side of abdomen
- Week 5: Right upper arm (if you can reach comfortably)
- Week 6: Left upper arm
Keep a simple log on your phone or calendar noting where you injected each week.
Tips for different injection sites
Thigh: Use the top and outer part of your thigh. Pinch the skin gently and inject into the pinched area.
Abdomen: Stay at least two inches away from your belly button. The sides of your abdomen often work well.
Upper arm: This can be tricky to reach. Only use this site if you can comfortably reach it or have someone help you.
Troubleshooting common issues
Bruising: This happens sometimes, especially if you hit a small blood vessel. It's not dangerous, just unsightly. A cool pack before injection might help.
Medication leaking out: This can happen if you remove the needle too quickly. Count to 10 after injecting before removing the needle.
Forgetting where you injected: Keep a simple log or take a photo of your injection site rotation schedule.
Special considerations
If you have particularly sensitive skin, you might want to stick to areas that are less visible in case of temporary redness or bruising.
Some people find certain sites more comfortable than others. It's fine to have preferences, just make sure you're still rotating within your preferred areas.
The bigger picture
Good injection technique becomes second nature after a few weeks. Most people find their own rhythm and preferred sites. The key is being consistent with rotation and gentle with your skin.